
Good morning! I am so excited about the Summer Series: Finish it Fridays! I know it is only the second one, but I have gotten sooo much done. It is nice to be fighting procrastination, and it is also nice to see the top of my sewing table again. Cleaning and organizing the sewing room should be a Finish it Friday project, but I fear it would take all summer- like the porch spindles.
This week’s project is not glamorous at all. I tackled my big pile of mending. It took almost all morning, but it is so nice to have it done. I even tried a few new techniques with my mending/alterations, they were fun!

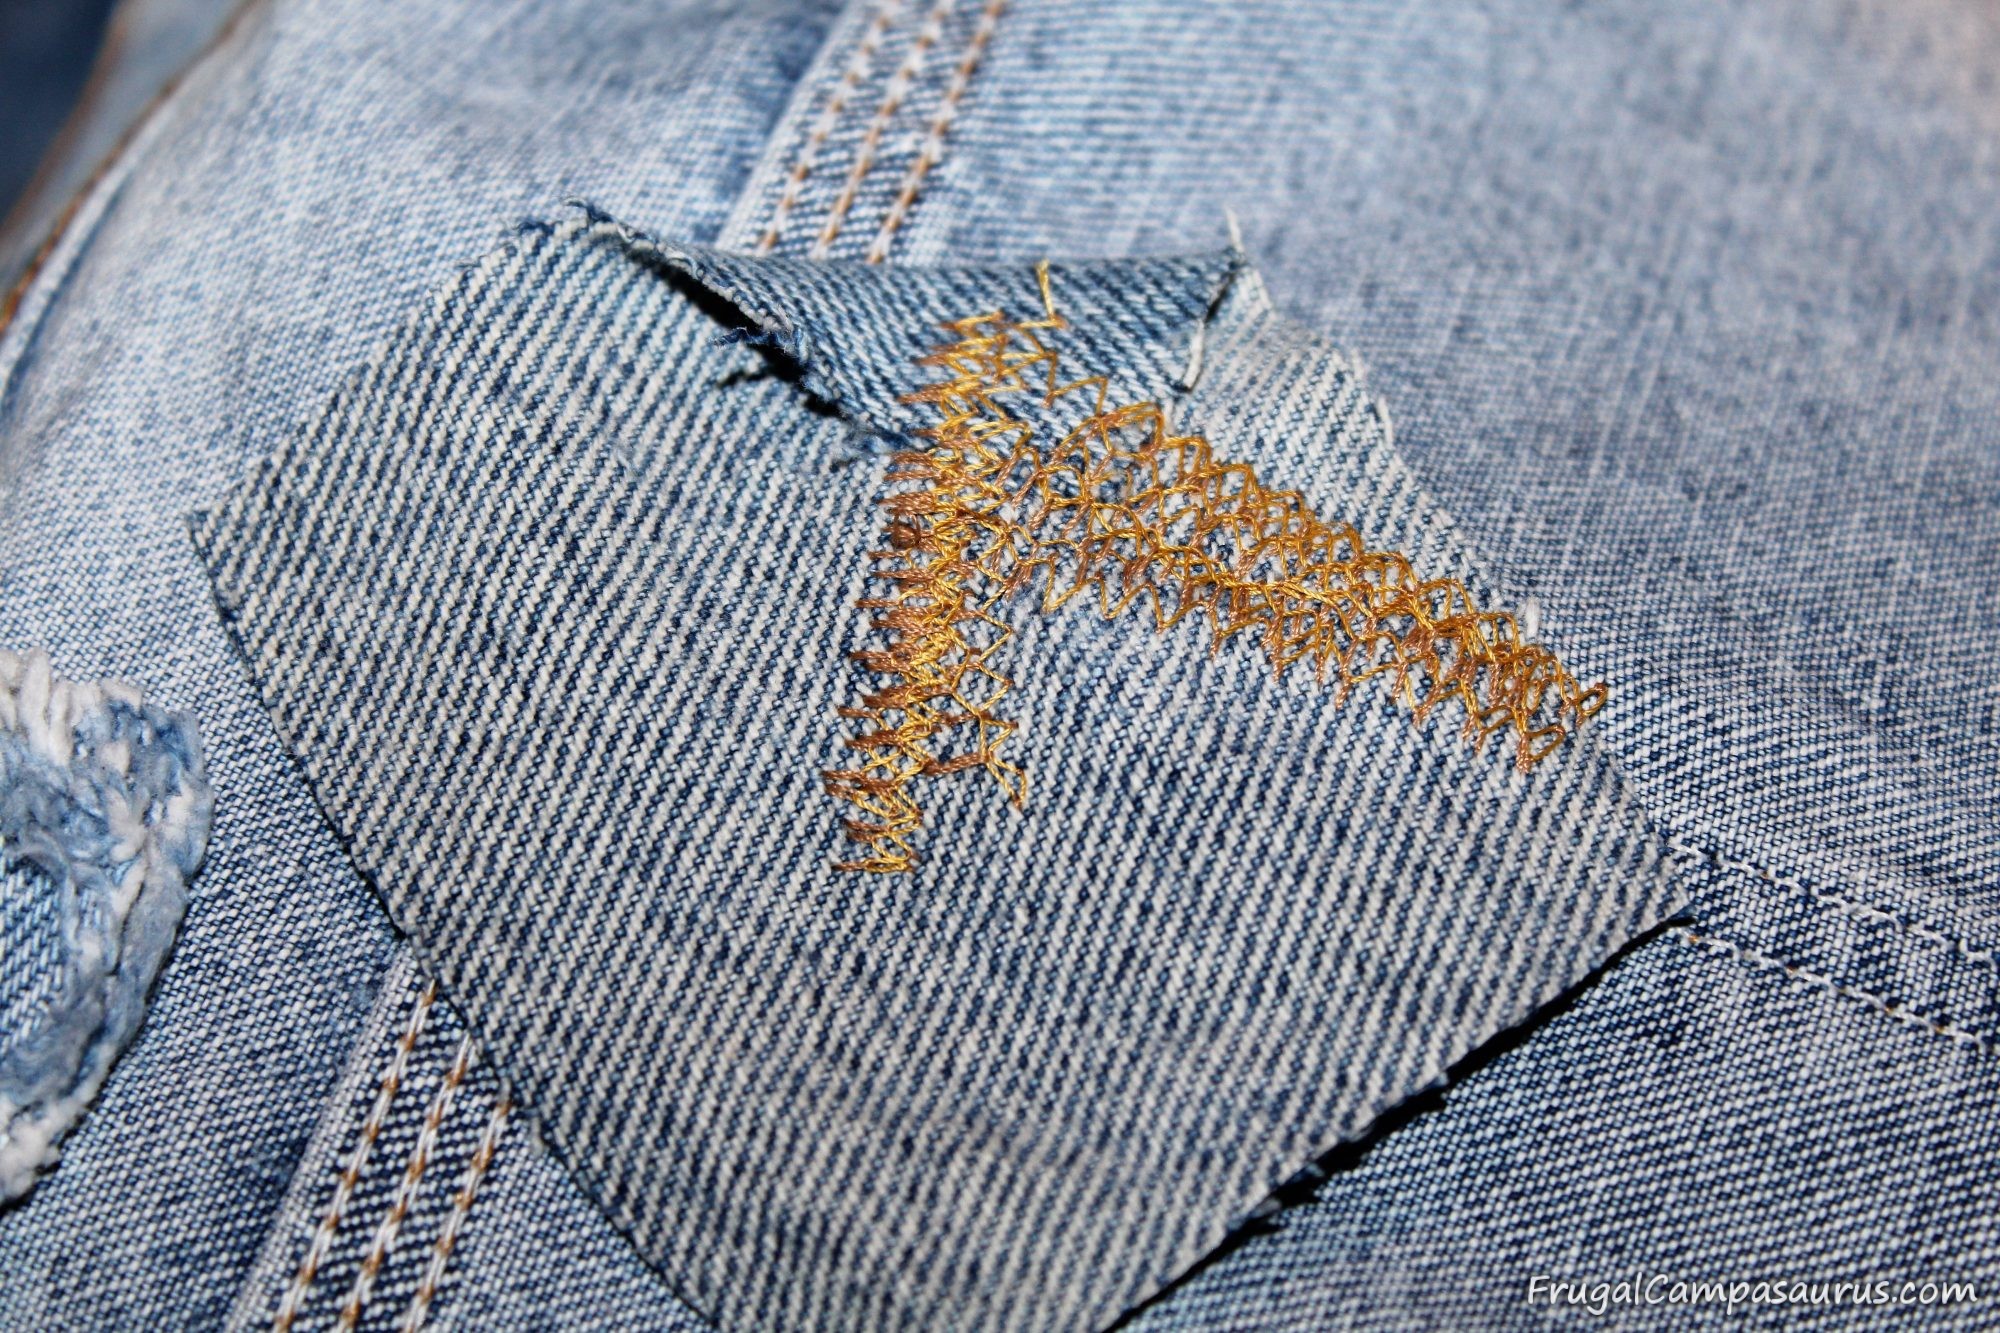
My first few projects are familiar ones- the Frankenstein jean patch. Thankfully, the husband is willing to wear them, since I need to patch his jeans often. The first step is easy- cut a square patch from a different, old pair of jeans that will cover the hole.

Then, while holding the patch on the inside of the jeans, zigzag a lot over the hole from the top side. This will help you to sew larger than the hole, so the zigzag will hold onto the good fabric that is around the hole. It is definitely practical and not pretty, but it is good for work pants.
This is the view from the inside of the jeans. The patch folded over, but it still works.
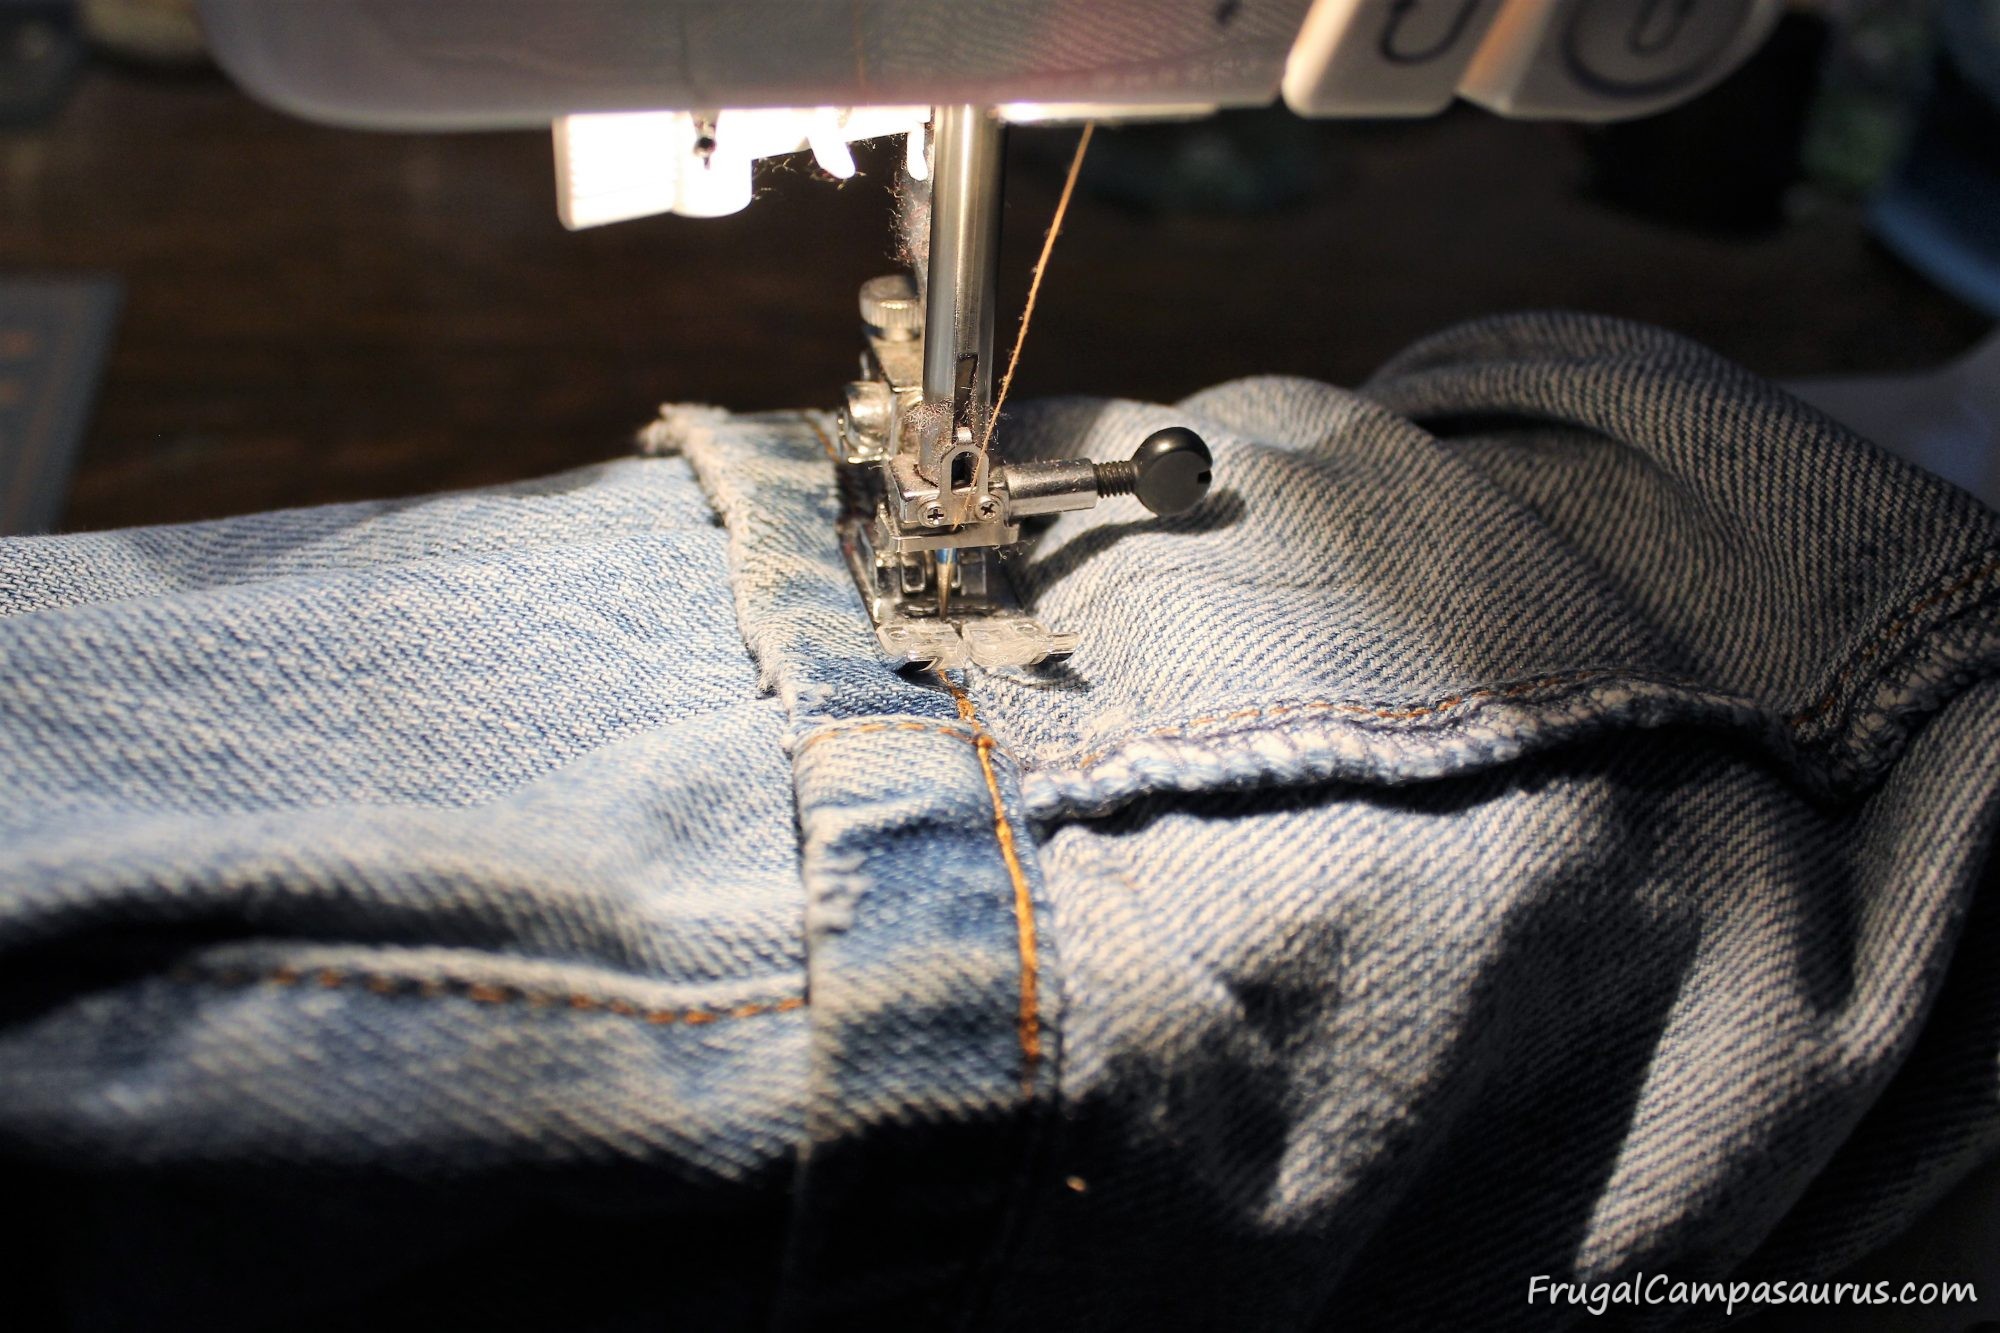
The next project also involved jeans, but grandbaby jeans. They fit fine around the waist, but had many, many holes in the knees. Perfect shorts. For my kids, I would fold under and seam the shorts but I wanted to try something different. I tried raising the hem and it worked wonderfully! It was easy to fold the pant leg up, while it was right side out, and sew right under the cuff.
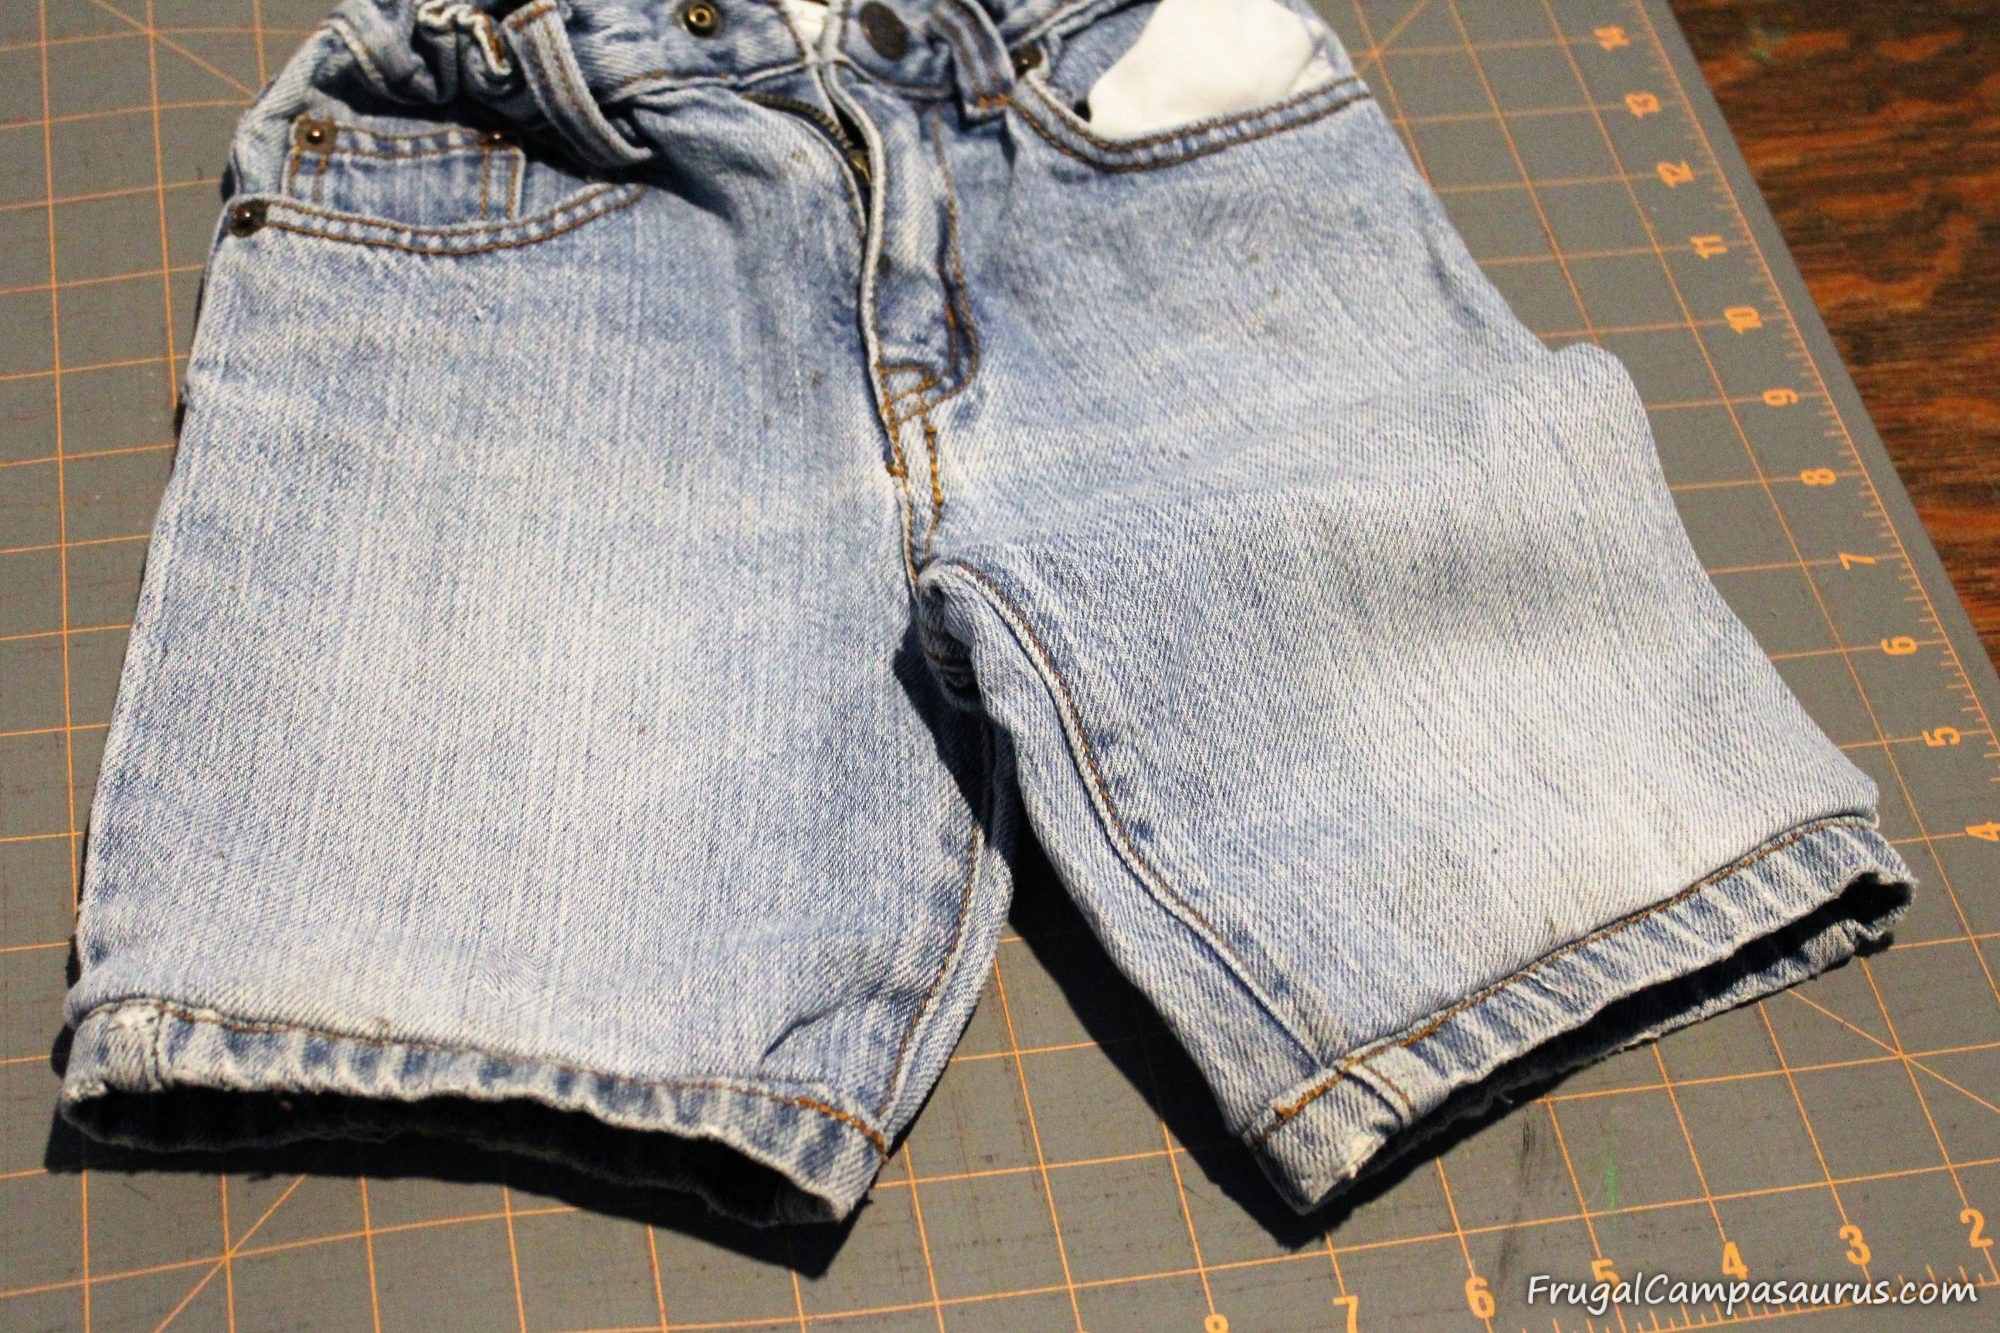
After trimming off the excess fabric (more patch material for Frankenstein patches), the jean shorts with original cuffs turned out great!
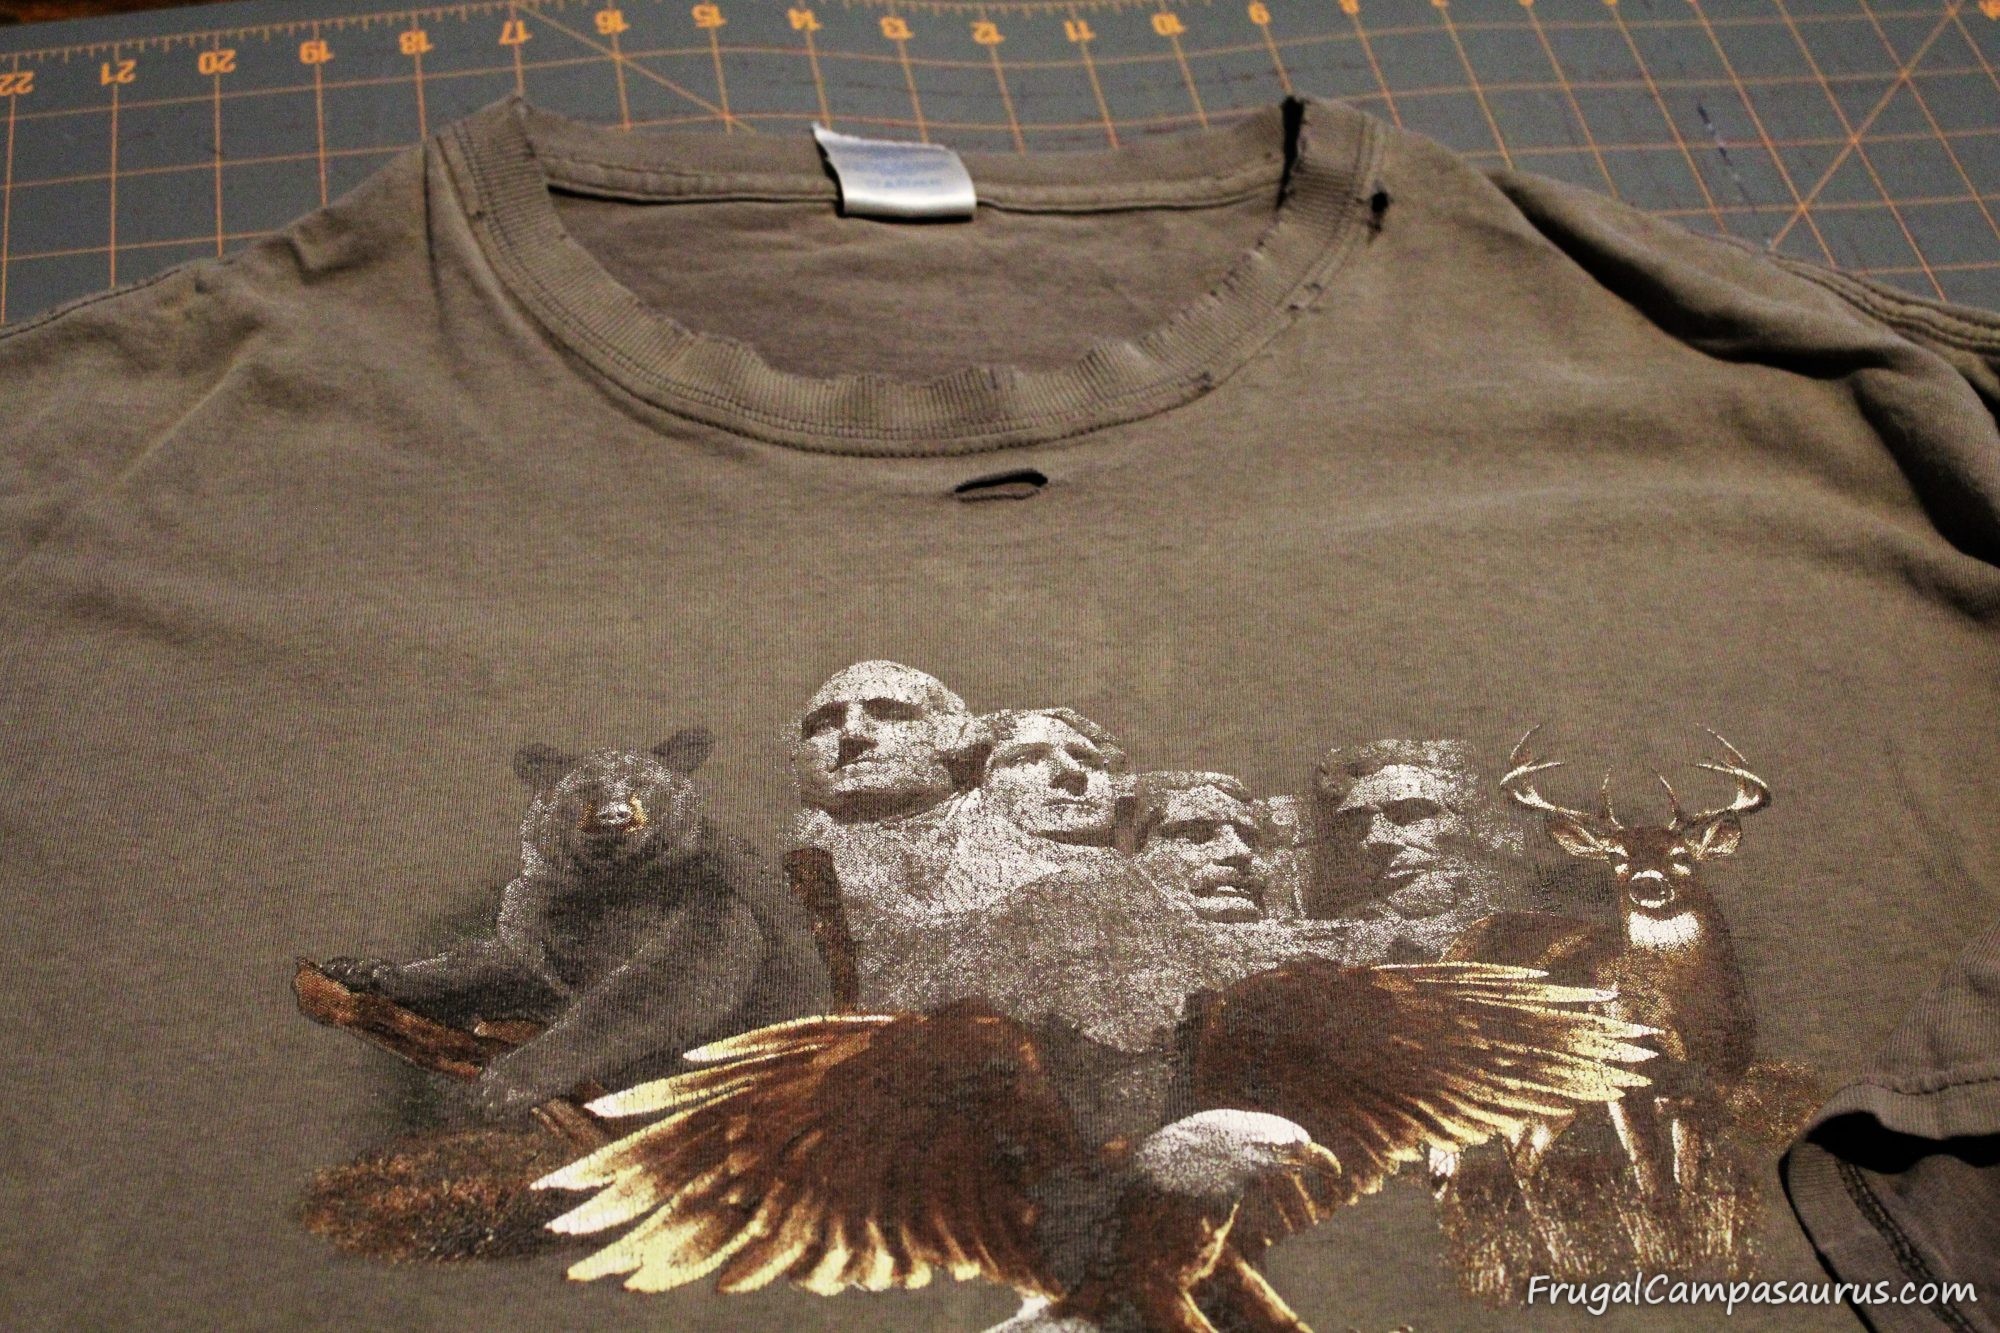
My last project was an upcycle of the husband’s favorite South Dakota shirt-now it’s mine! The collar finally wore out, so I made a new braided collar.
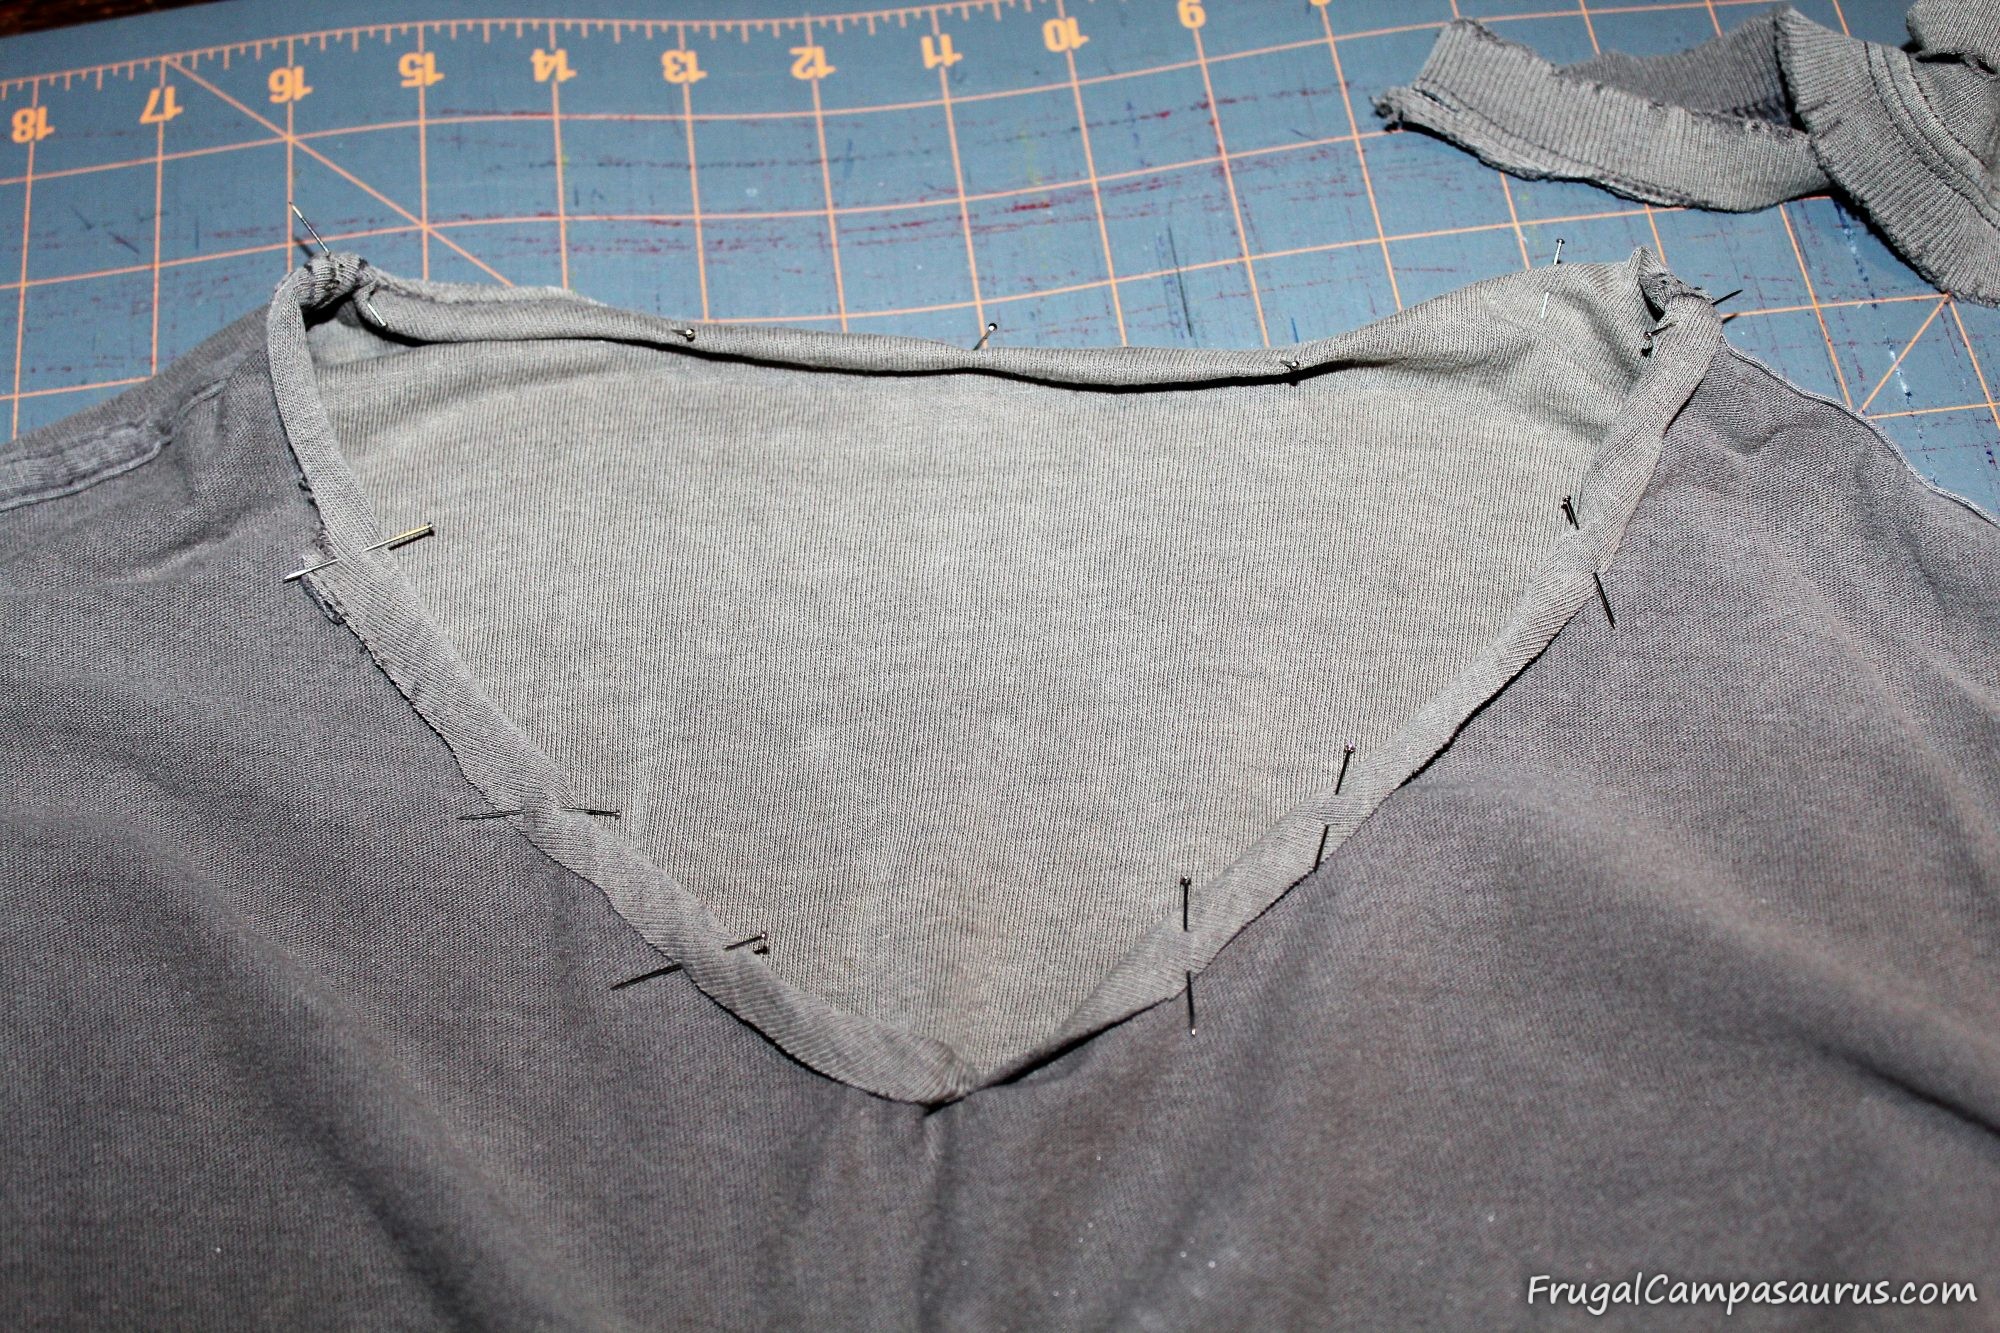
First, I cut, pinned and sewed a very narrow seam at a new v-neckline. I rarely pin, but this time I am glad I did since the hem was so narrow. I did not think the hem would show so much, but on the finished braided shirt, it does. Next time, I will try to make it more even.
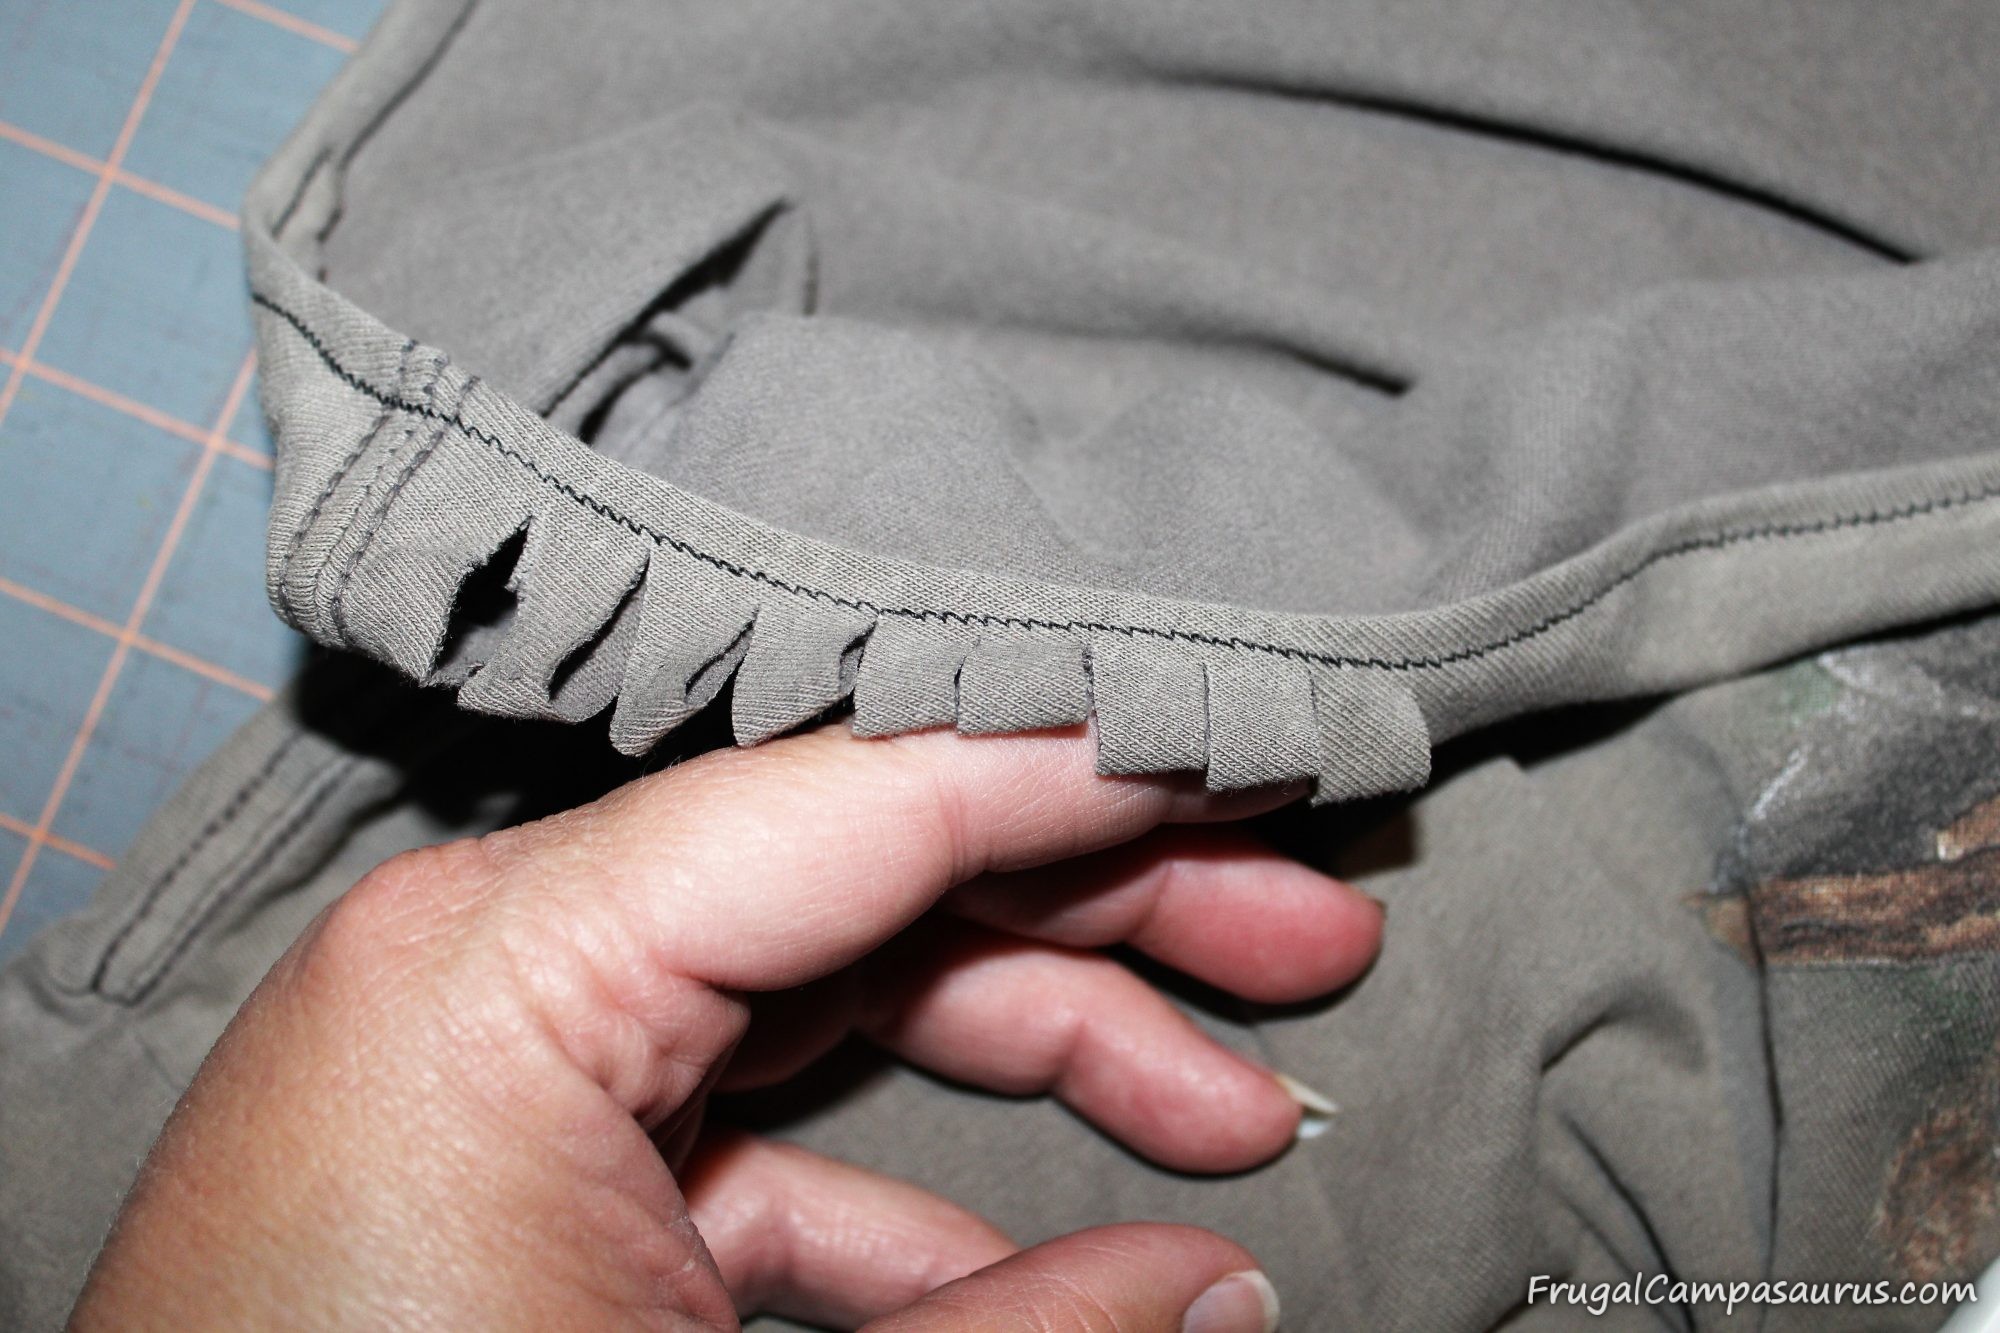
I cut 1 inch slits around the front of the neckline, since I was only braiding the front of the shirt.
Next time, I will try 1 1/2 inch long slits. The braid was small and sometimes it was hard to pull the next loop through, since the loop was short.
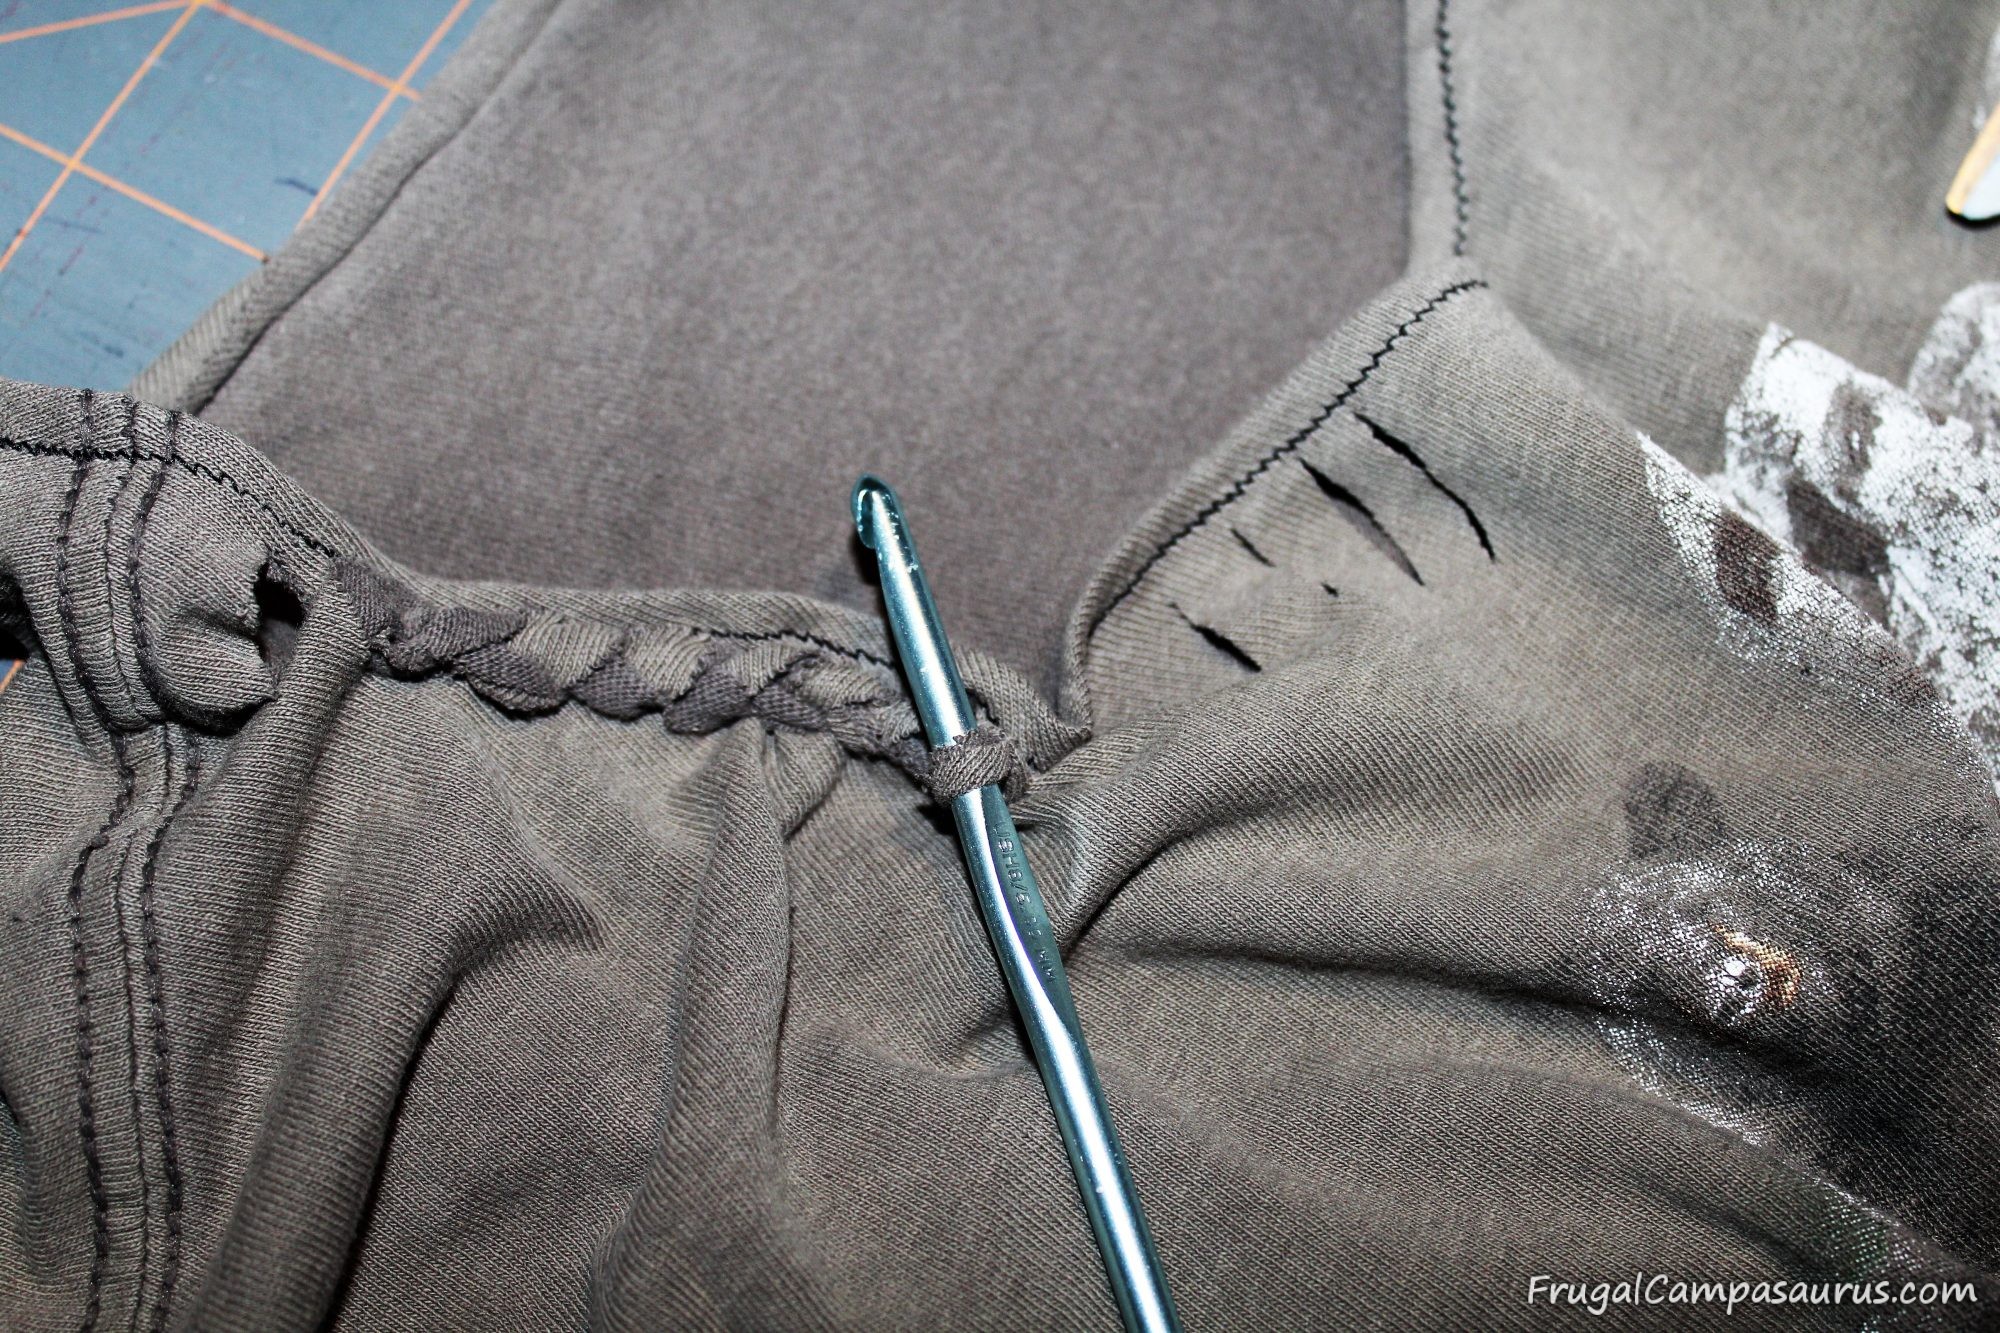
A crochet hook worked great to pull loops and make the braid. It was easy to twist the first loop and then pull the next loop through, letting the first loop slide off. It is just like finishing the edges of the woven potholders I used to make as a kid. Keep twisting and pulling a loop through, as the one on the hook slides off. At the opposite shoulder seam, I tucked the final loop under and sewed it down with the sewing machine.
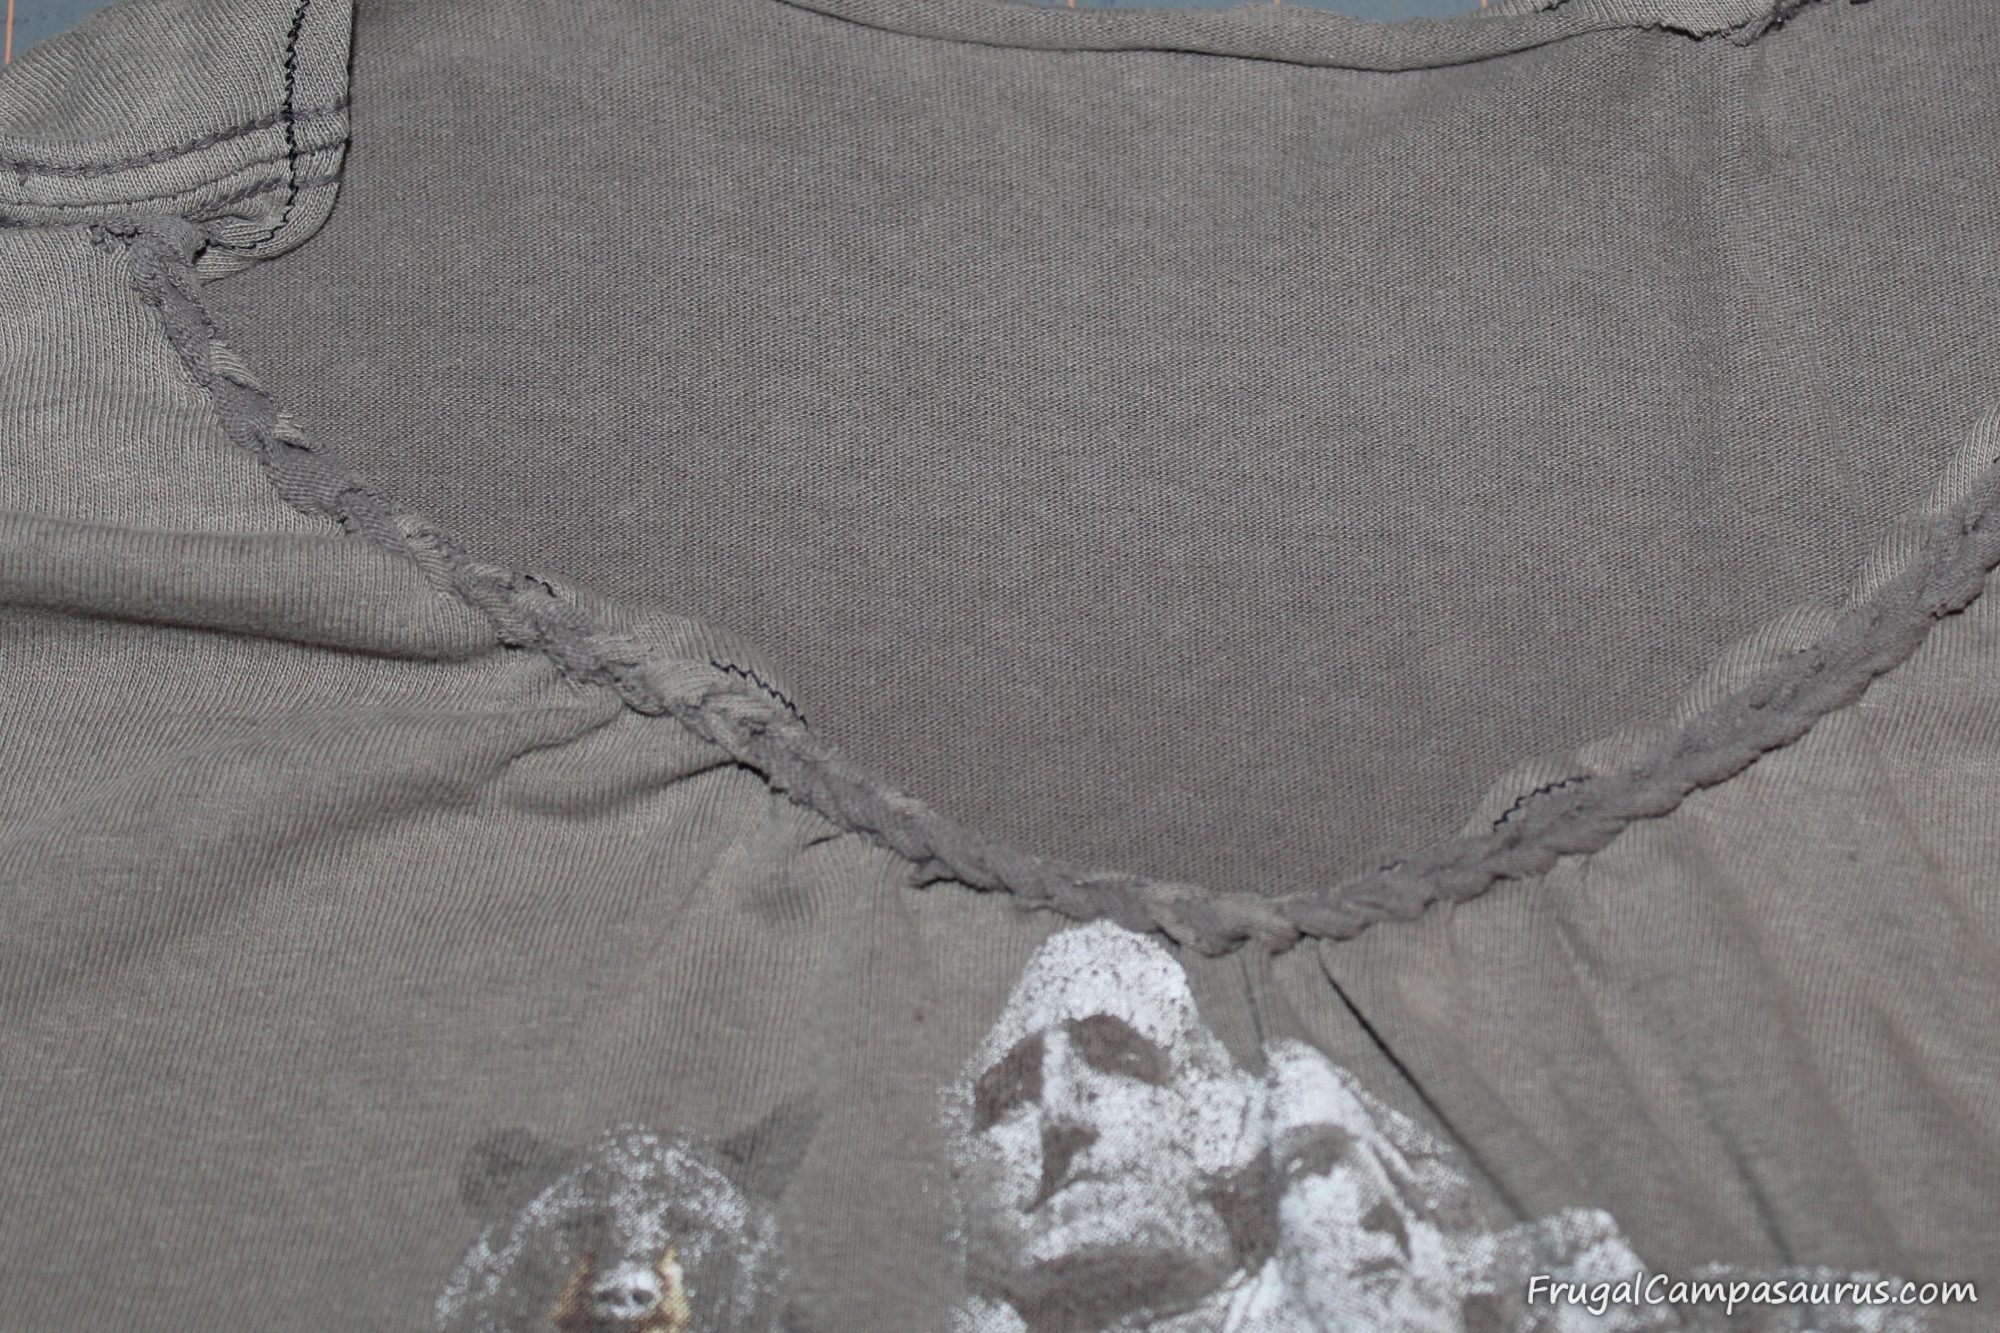
I was happy with my first attempt at a new, braided neckline, even if it’s a bit uneven-now I have a new camping shirt!
I was glad to get the mending done, and I hope to try a few more t-shirt upcycles -they were fun. I also hope you have a good weekend and get motivated to finish a few projects!
Happy Camping (and Frankenstein mending)!
Frugal Campasaurus